How to create a panorama with Autopano, Autostitch (free) and Photoshop

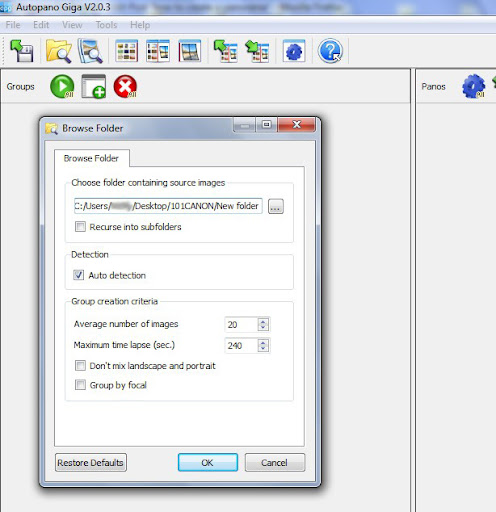
It will then analyze the pictures in your folder and create previews of possible panoramas:
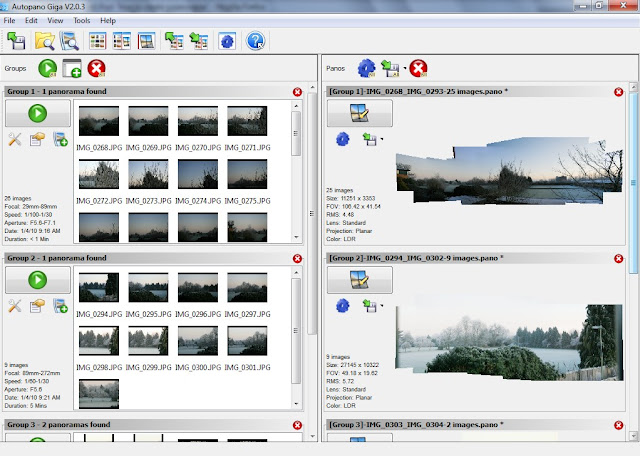
If you are happy with this selection then just press render, or if you are not, you can also select individual files and create a panorama from them. And also you can edit the panorama setting by clicking the blue button above each panorama preview.
It will take a few minutes to render your panorama, depending on the size/number/resolution of the pictures and the settings you chose. For this example I chose to reduce the resolution a bit, because it's for web publishing, and doesn't require extremely high resolution. Note: when you combine a number of pictures, the default setting is keep the resolution of each picture, and your final image may have hundreds of megapixels resolution, if left on this setting, and therefore take hours to render, so think what kind of resolution you would need before rendering.

You will need to crop the final image, and I also like to sharpen it a bit, and do some modifications in Photoshop, like higher contrast, "S-curve" adjustment or even black & white. Thw final image looks like this (Note: because it was shot in the morning, there was a lot of noise, so I had to do noise reduction (added blur) to the picture and I also didn't use highest quality rendering mode in Autopano, just a quick render, but you get the idea how it would look like):


After the process is complete, you will probably need to crop the generated panorama and maybe do some adjustments (the following images are distributed with Autostitch for testing purposes):
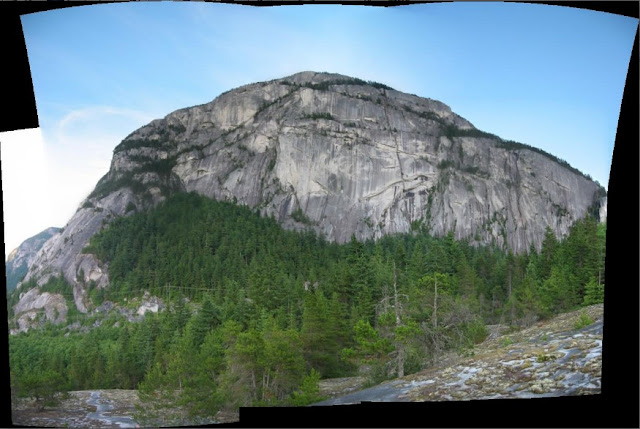
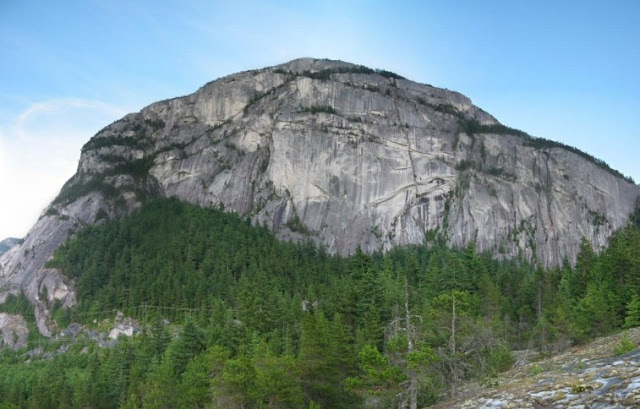
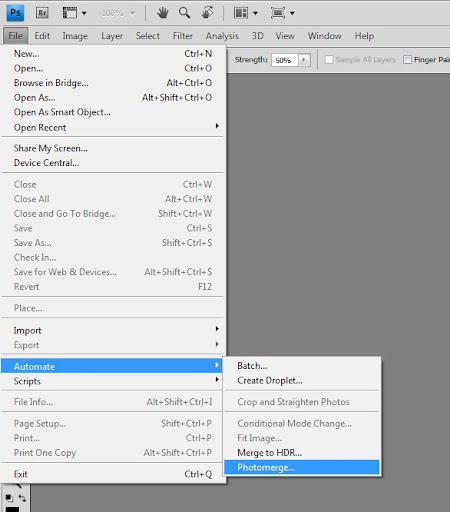
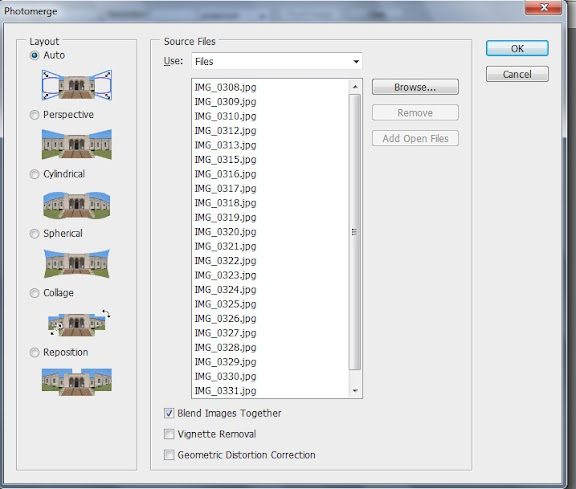
It will then take some time for Photoshop to render the panorama. And it will give you the final result, which you may want to crop or modify a bit:

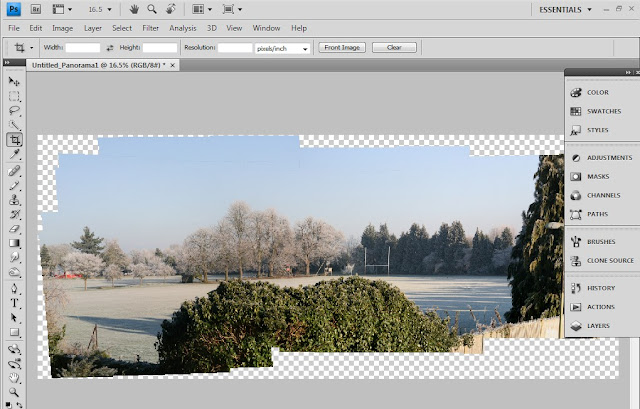
So the result with Photoshop is (this is another set of shots later in the day with better light conditions);

Thanks for reading, if you have any questions or suggestions, post them in comments.
Hippo


